Key Takeaways
- Define Your App Idea: Clearly outline the purpose of your mobile application and ensure it aligns with user needs and your business goals.
- Research the Market: Analyze competing apps, focusing on features, pricing, and user feedback. Use app store optimization (ASO) and keyword research to improve your app.
- Choose the Right Platform: Decide if you want to create your app as a native, web, or hybrid app based on your budget and audience preferences.
- Design and MVP: Focus on user-friendly design and build an MVP with core features, using feedback to guide future updates.
- Development Options: You can either develop the app yourself, hire developers, or use app builders to quickly create a mobile app.
- Test and Improve: Test the functionality of your app on multiple devices and platforms, and gather user feedback to make improvements.
- Launch and Market: Submit your app to the app stores, optimize for discoverability, and promote it through ASO, social media, and early reviews.
- Post-Launch Updates: Regular updates and bug fixes are essential for improving your app and maintaining user engagement.
Pre-Development Planning: Setting a Strong Foundation
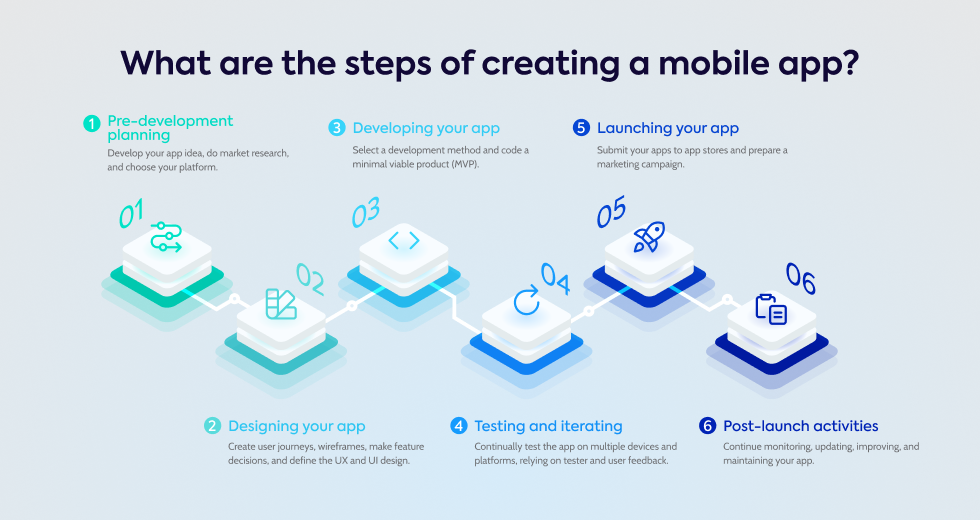
Define Your App Idea and Purpose
Before you create an app, it's essential to have a clear vision of what you're building and why.
Start by defining your app idea, including the problem it will solve and the value it will bring to users.
A successful app begins with a clear understanding of its target audience—who will use it, and what are their needs, goals, and behaviors?
You should also align your app's objectives with your business goals, whether that’s increasing brand visibility, improving customer interaction, or enhancing internal processes.
Once you have a well-rounded idea, it's time to get specific.
Consider the features and functionalities your audience will need. Write down the app's concept in detail, outlining the user flow and desired outcomes.
Tools like wireframing can help you visualize how users will navigate through your app, ensuring a simple and user-friendly experience.
Additionally, make sure your app idea aligns with your business model—whether it's through in-app purchases or a subscription-based service.
Finally, draw inspiration from existing successful apps, improving upon them or solving a personal pain point that hasn't been addressed yet.
Conduct Market and Competitor Research
To ensure your app stands out, you'll need to research the market and analyze competing apps in your niche.
Start by exploring apps in the app stores to see how they rank, what features they offer, and how they’re priced.
App store optimization (ASO) is a great tool to monitor keywords, rankings, and features of these competing apps, giving you insights into what works and what doesn’t.
Customer reviews and ratings are a valuable resource, too.
Pay attention to both positive and negative feedback to identify gaps where your app can improve upon competitors' weaknesses.
See how often competing apps are updated and how well they meet users’ expectations.
Keyword research can also help you understand what search terms potential users are typing in, providing valuable direction for your app’s marketing and development.
Finally, speaking directly to potential users will help you understand their needs, ensuring your app includes the features they want but can’t find in current solutions.
Choose Your App Development Platform
Choosing the right platform is crucial for your app’s success.
You can opt for native apps, which are built specifically for iOS and Android, or explore other options like web apps, hybrid apps, or progressive web apps (PWAs).
Native apps provide a superior user experience and access to native device features, but they require more resources and custom development.
For iOS apps, you’ll use Swift or Objective-C, while Android apps require Kotlin or Java.
If your budget or timeline is limited, cross-platform frameworks like React Native or Flutter might be the right choice, as they allow you to build an app for both iOS and Android simultaneously.
Alternatively, if you're looking for a cost-effective solution that doesn't require store publication, consider PWAs—they provide a web experience similar to native apps and offer offline functionality.
Ultimately, the platform you choose should align with your target audience’s preferences.
Are they primarily iOS or Android users? How much time and money are you willing to invest?
If you're a business with limited technical resources, you might even consider using no-code platforms or app builders, which allow you to quickly create a functional app without diving into complex development.
Designing Your App: Laying Out the Blueprint
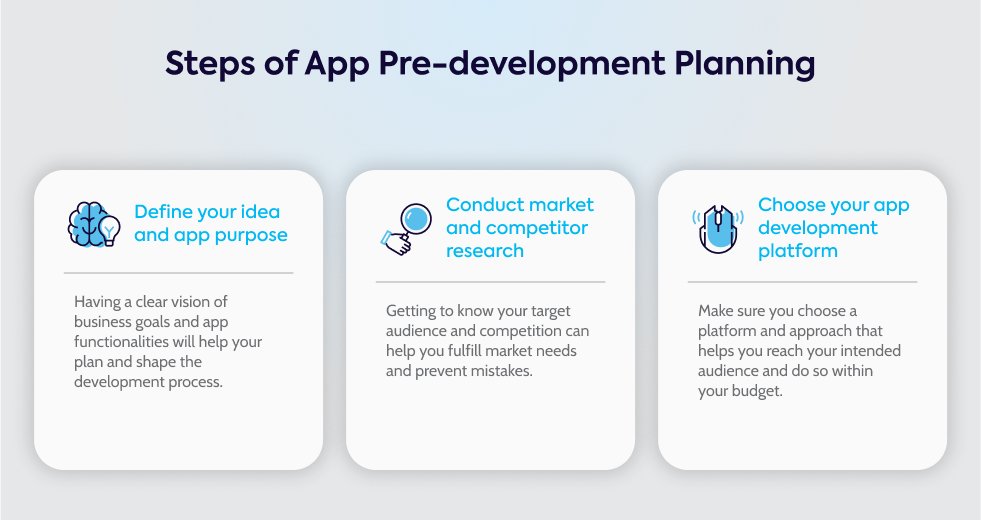
Create User Journeys and Wireframes
Creating an effective app design starts with mapping out user journeys, which define how users will interact with your app and accomplish tasks.
Wireframing is the next step, where you sketch the basic structure and layout before any development begins.
These wireframes provide a blueprint for how your app will function, ensuring that you capture the right user flow and features.
When wireframing, focus on the essential parts of your app’s interface, like navigation and content display. The goal is to create an intuitive and streamlined user experience.
You can use tools like Sketch or Figma to bring your ideas to life visually, helping stakeholders understand what the app will look like.
Wireframes also make it easier to make adjustments early on before moving to more detailed designs.
Once finalized, they serve as a communication tool between you, developers, and designers, aligning everyone on the project's goals and design expectations.
Design the User Interface (UI) and Experience (UX)
The user experience (UX) and interface (UI) design play a huge role in whether users will engage with your app or leave it frustrated.
Start with simplicity—create a clean and minimal UI that’s easy to navigate, using familiar layouts to prevent users from feeling overwhelmed.
It's important to keep in mind that users interact with mobile apps using their fingers, so elements like buttons and icons should be touch-friendly, with appropriate size and spacing for easy use.
Your app’s visual identity also needs to align with your brand, so choose icons, colors, and fonts that reflect your business.
Speed and responsiveness are key, so make sure the design doesn’t slow down the app’s performance.
During the design phase, you should also consider accessibility to make sure the app is usable by all users, including those with disabilities.
Testing early with mockups and prototypes will help you get feedback on the design and improve it before moving to the development stage.
Choose App Features for Your MVP (Minimum Viable Product)
Building an MVP allows you to create a successful app without overloading it with features in the early stages.
The goal is to focus on core features that address the main purpose of your app and offer value to users.
These essential features should allow basic navigation and smooth user experience, while advanced functionalities can be introduced later, based on feedback.
For example, if you're building an eCommerce app, the MVP might include product listings, a shopping cart, and a secure payment gateway.
You’ll want to keep features like in-app purchases or search functions in mind if they’re necessary for user retention.
After you launch the MVP, gather real-world feedback from users to see what works and what doesn’t, then prioritize future features or improvements based on their input.
This approach helps you avoid adding too many complex features upfront, which can delay development and testing.
Developing the App: Bringing Your Idea to Life
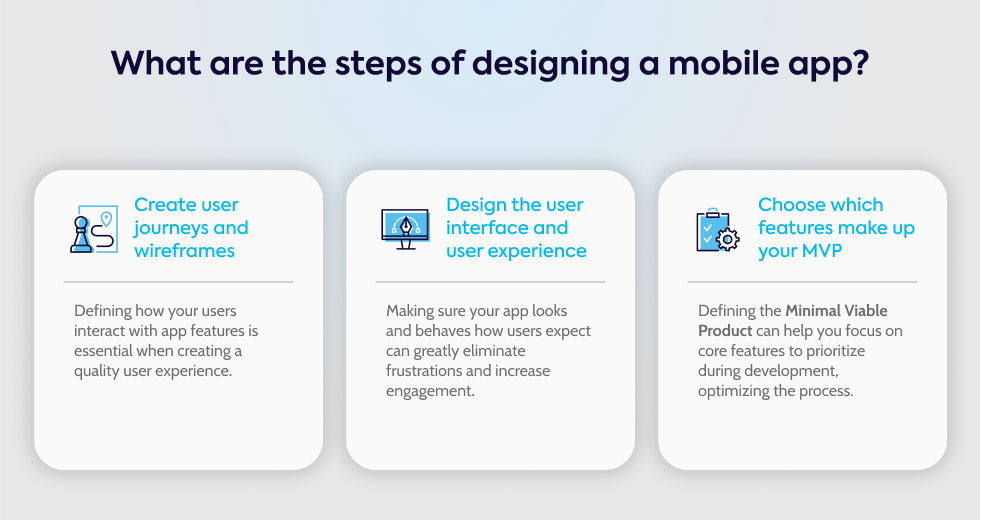
Select a Development Method
When you start the app development process, you’ll need to decide on the best approach for your project.
There are three main methods: self-development, hiring an agency or freelancer, or using an app builder.
Each option has its pros and cons, depending on your technical expertise, budget, and the complexity of the app you want to create.
Self-development is ideal if you have experience with programming languages like Swift, Kotlin, or Java.
This method gives you full control but requires significant time and technical skills.
Hiring mobile app developers, whether through an agency or freelancers, can be more expensive, but they bring professional expertise that’s particularly valuable for complex or high-quality apps.
Agencies often offer a full range of services, while freelancers may be more flexible and cost-effective, though you might need to manage the project more closely.
If you’re looking for a simpler or more budget-friendly option, using an app builder might be the way to go.
Platforms like GoodBarber offer drag-and-drop tools and pre-built templates, making it easy for non-technical users to build an app without coding.
However, while this option is fast and accessible, it may limit scalability if your app requires highly customized features.
If your app demands more unique functionality, outsourcing development might be necessary to get the job done right.
Begin Coding or Use App Builders
Once you’ve selected your method, it’s time to start development.
If you choose to develop an app through coding, you’ll need to set up a proper environment for front-end and back-end development.
For iOS apps, this means working with Xcode and languages like Swift or Objective-C.
For Android, you’ll use Android Studio with Kotlin or Java.
For cross-platform apps, tools like React Native or Flutter allow you to develop for both iOS and Android simultaneously, saving time and effort.
If coding isn’t your forte, you can still create an app without coding using platforms like GoodBarber or Appy Pie.
These app builders provide WYSIWYG (What You See Is What You Get) interfaces, where you can visually design your app and test it quickly.
This method is great for creating prototypes or Minimum Viable Products (MVPs) with no need for deep technical knowledge.
While coding allows for more customization and scalability, app builders are ideal for getting a working version of your app up and running in no time.
Regardless of the method you choose, testing your app in different environments (iOS, Android, and web) is essential to ensure compatibility, performance, and a smooth user experience.
Thorough testing will help catch any bugs or issues before your app goes live.
Build an MVP (Minimum Viable Product)
When you're ready to build an app, the best strategy is to focus on creating an MVP—a version of the app that includes only the core features needed to solve the main problem or meet the primary goal.
This helps you keep development costs low and launch sooner.
Whether it’s your first time building an app or you’ve done this before, starting with an MVP ensures that you can gather real-world user feedback early on, which is critical for guiding future development.
Your MVP should prioritize functionality over aesthetics.
While a polished design is important, your focus at this stage should be on ensuring that the app works smoothly and effectively.
Test the MVP with real users and collect feedback to make improvements.
This input will help you identify what features to add in future updates and which areas might need refinement.
Launching your MVP on one platform, like iOS or Android, first is a smart way to reduce initial costs and gather focused feedback.
You can always expand to the other platform later.
This incremental approach lets you keep costs low while solving the core problem effectively.
Once you’ve gathered feedback and made necessary updates, you can gradually add more advanced features and grow your app over time.
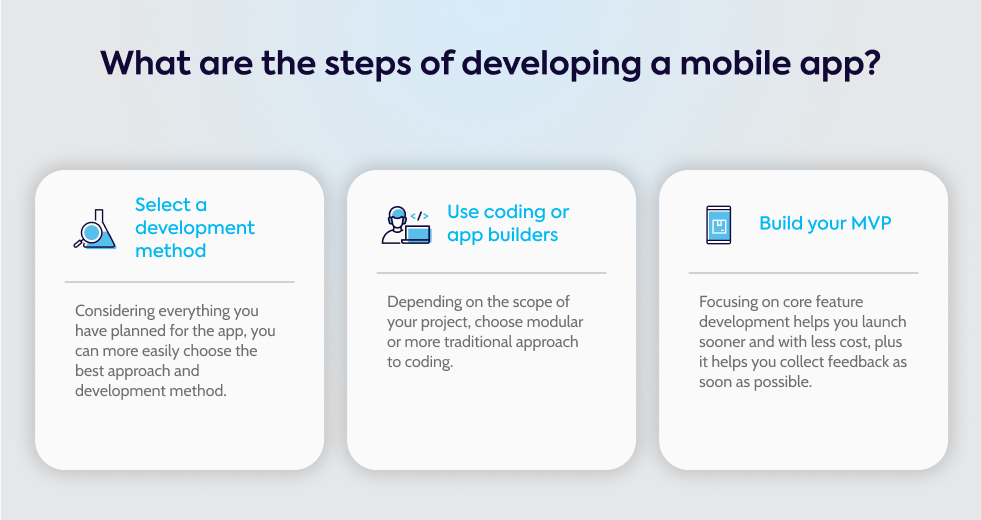
Testing and Iterating: Ensuring Quality and Functionality
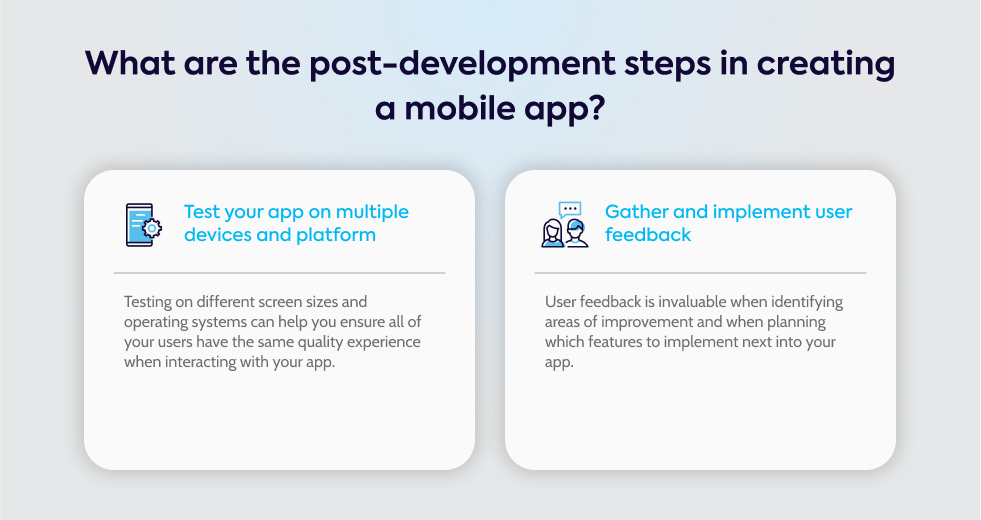
Test Your App on Multiple Devices and Platforms
To ensure your app performs well, it's important to test your app across different environments, especially on both iOS and Android devices.
Each operating system has its own requirements, and testing on multiple devices helps catch any compatibility issues.
You can use simulators and emulators to get a first look at how the app behaves on various screen sizes and resolutions, but it’s crucial to also test on actual devices to evaluate real-world performance.
As part of the testing process, check how your app responds in different network conditions, like low connectivity, and ensure that it performs smoothly without crashes.
It's also important to test both the front-end (what the user interacts with) and the back-end (how the app functions behind the scenes).
Use tools like TestFlight for iOS and APK testing environments for Android to ensure the app works well across platforms.
This process will help you catch bugs, crashes, or responsiveness issues that could affect the user experience.
Additionally, validate your app’s security, ensuring features like encryption and authentication are working properly.
Gather and Implement User Feedback
Once you have a stable version of the app, it’s time to conduct beta testing to gather user feedback.
Testing with a diverse group of users helps you understand how different people interact with your app and can reveal areas where improvements are needed.
Use this feedback to make changes and ensure your app is as user-friendly as possible before its official launch.
Monitoring user reviews and ratings in app stores, as well as feedback from social media, will give you ongoing insights into how your app is being received.
You can also use analytics tools to track user behavior, identifying areas where users might be confused or features that are underutilized. Based on this data, continue to update your app with bug fixes, new features, and performance improvements.
Keeping users informed through in-app notifications or email newsletters will help maintain engagement and let them know their feedback is valued.
Launching Your App: Getting It to the Market
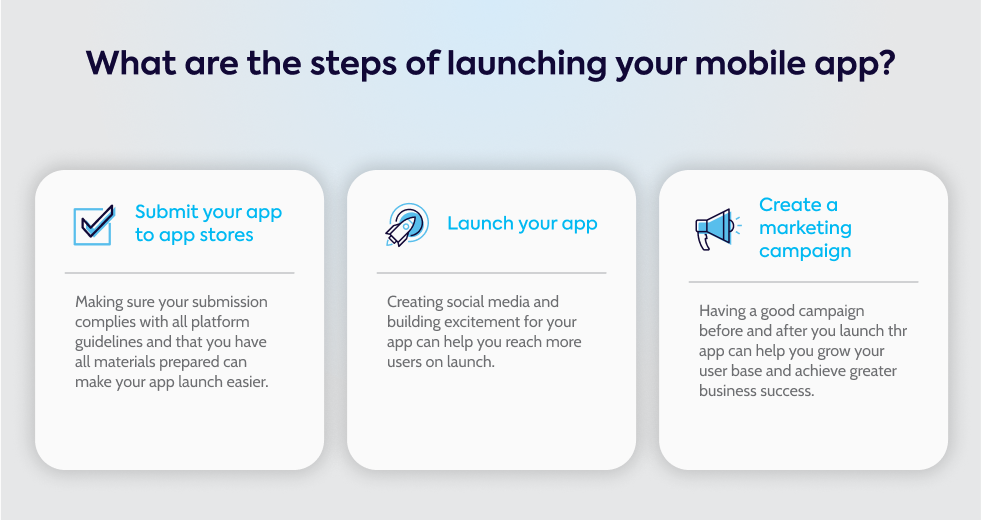
Submit Your App to the App Stores
Once your app is ready, the next step is submitting it to the Apple App Store and Google Play.
Before submission, make sure your app complies with both platforms' guidelines, as each store has its own rules and processes.
For instance, you’ll need to register for a developer account: Apple requires a $99/year fee, while Google Play has a one-time fee of $25.
You'll also need to fill out all the required app metadata, such as the app’s name, description, keywords, category, and screenshots.
Submitting through App Store Connect for Apple and Google Play Console for Android initiates the review process.
Apple’s manual review can take a few days, so be prepared for possible feedback and resubmission.
Google Play’s process is typically faster, though it may still take time if you’re a first-time developer.
Testing your app with TestFlight before submitting to Apple’s store ensures you're aware of any issues before launch.
For Android, preparing the APK file with all the necessary assets and permissions is key to a smooth submission.
Market Your App for Maximum Exposure
To give your app the best chance at success, it’s crucial to promote your app effectively.
Start by building a pre-launch landing page to capture email signups and generate interest.
Social media platforms like Facebook, Instagram, X, and LinkedIn offer great opportunities to reach your target audience, especially if you engage them with teasers, announcements, and updates.
App Store Optimization (ASO) plays a huge role in boosting your app’s visibility.
Optimize your app’s keywords, description, screenshots, and app previews to improve discoverability.
Consider creating a media kit with essential information for journalists and influencers, which can help you spread the word.
Paid marketing campaigns, influencer collaborations, and community engagement on forums like Reddit or Facebook groups can also help increase downloads.
Early user reviews are critical for improving your app’s ranking in the app stores, so encourage users to leave feedback.
Keep your users engaged with regular updates, new features, and push notifications after the launch.
Post-Launch: Maintaining and Improving Your App
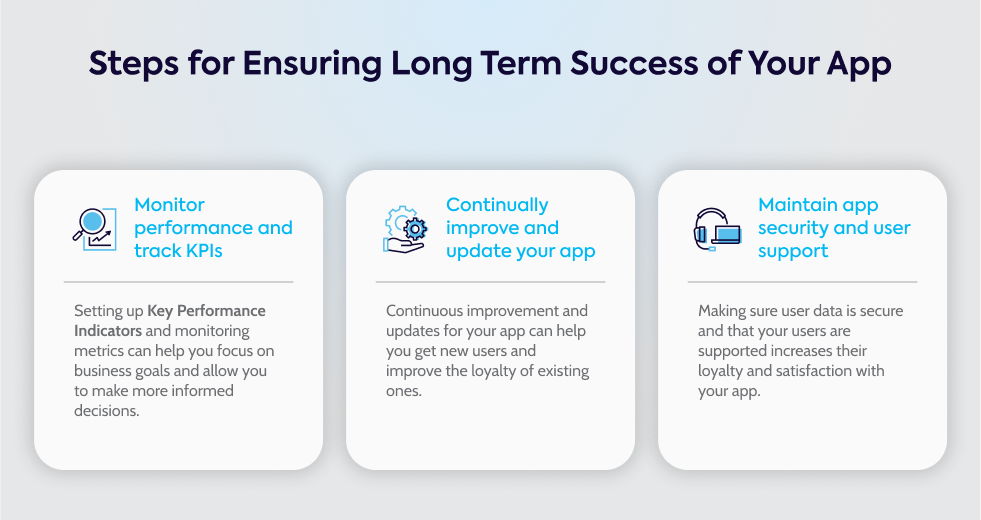
Monitor Performance and Track KPIs
After your app is live, it’s important to monitor its performance through tools like Google Play, the App Store, or other integrated analytics platforms.
Keep an eye on key metrics such as user acquisition, retention rates, session length, and churn rates.
These performance indicators will give you a clear picture of how users are interacting with your app.
Beyond user engagement, it’s also important to analyze technical aspects like crash rates, loading times, and responsiveness.
Gathering feedback from reviews, social media, and app ratings will help you spot areas that need improvement, while revenue metrics (such as in-app purchases or ad performance) can indicate whether your monetization strategies are working.
You can also use A/B testing to optimize features or design elements, helping you refine the app over time.
Continue to Update and Improve Your App
The work doesn’t stop once your app is live.
Regularly pushing app updates is key to keeping users engaged and ensuring the app remains competitive.
Address any user feedback by implementing suggestions and fixing bugs, and stay updated on iOS and Android OS updates to maintain compatibility.
Keeping up with app store guidelines is important to ensure your app remains compliant and avoid disruptions.
It's a good idea to release small updates that continuously improve functionality without overwhelming users.
Highlighting new features or improvements through in-app notifications or email will help users stay informed and excited about updates.
Keeping your app’s design and functionality aligned with current trends will ensure you stay relevant in the competitive app marketplace.
Planning updates 3-4 times a year can help maintain user interest while meeting evolving market demands.
Maintain App Security and User Support
Maintaining app security is crucial for user trust and data protection. Implement encryption for sensitive data like API communications and local storage.
Make sure you’re using authorized APIs that comply with iOS and Android security standards, and employ strong authentication protocols such as token management and session handling.
Regular security audits and penetration testing can help you catch vulnerabilities before they become an issue.
As new security threats emerge, regularly updating your security measures is essential, especially after major OS updates.
Additionally, providing app support—such as 24/7 user assistance for bugs, security issues, or general queries—will ensure users have a seamless experience.
Make sure users can easily access privacy settings and support options within the app.
FAQs: Common Questions About App Development
How much does it cost to develop an app?
The cost of developing an app varies based on the complexity of the features, the team you’re working with, and whether you choose to outsource the project.
If you opt to work with an app development company, the cost for a feature-rich app typically ranges between $200,000 and $350,000.
Freelancers or agencies may charge hourly rates, with prices ranging from $55 to $175 per hour, depending on their expertise and location.
Alternatively, using app builders or no-code platforms offers a more affordable solution, with costs often structured as monthly subscriptions.
You’ll also need to factor in the publishing costs, such as $99/year for the Apple App Store and a one-time $25 fee for Google Play.
Additionally, ongoing marketing, updates, and maintenance can add to the overall cost, especially if you include complex features like in-app purchases or subscriptions.
How long does it take to build an app?
The development timeline depends on the app’s complexity.
For simpler apps, the process can take around 1-2 months. More complex apps with advanced features can take anywhere from 3 to 9 months.
Generally, the app development stages, from concept and wireframes to coding and QA, take about 18 weeks on average.
If you're following an agile development model, you can speed up the timeline by focusing on a Minimum Viable Product (MVP) first, launching a simplified version of the app.
For even faster results, app builder tools can help you create a basic app in a matter of minutes, but custom coding typically requires more time due to iterative testing and bug fixing.
Can a beginner create an app?
Yes, beginners can create apps, especially with the help of app makers or no-code platforms.
These tools offer drag-and-drop interfaces, allowing you to build an app without needing coding skills. For simple apps, these platforms are an excellent starting point.
If you’re aiming for a more complex app, learning to code in languages like Swift (for iOS) or Kotlin (for Android) will be helpful, though it requires more time.
Resources like Design+Code offer beginners practical tutorials on creating apps.
Start small with simple projects or an MVP to get hands-on experience before tackling more complicated apps.
What are the key post-launch maintenance tasks?
After your app is launched, regular app maintenance is essential.
You’ll need to push updates that introduce new features, fix bugs, and ensure compatibility with the latest iOS and Android updates.
Monitoring user feedback through app reviews, social media, and analytics will help you identify areas for improvement.
Security is another key focus. Make sure your app stays secure by updating encryption, securing APIs, and keeping up with new threats.
Marketing your app also continues post-launch; promoting your app through paid ads, influencer campaigns, and app store optimization (ASO) will help maintain visibility.
Ready to bring your app idea to life?
At Gauss, we understand the complexities of mobile app development—from defining your vision to building a seamless user experience.
Whether you’re focused on enhancing business processes or creating the next standout app in your industry, we’re here to guide you every step of the way.
Let’s talk about how we can help you make an app that’s perfectly tailored to your needs.
From choosing the right type of app to ensuring flawless execution, Gauss is your partner in app building success.
Visit us here to start the conversation and make your app a reality!
